Table of Contents
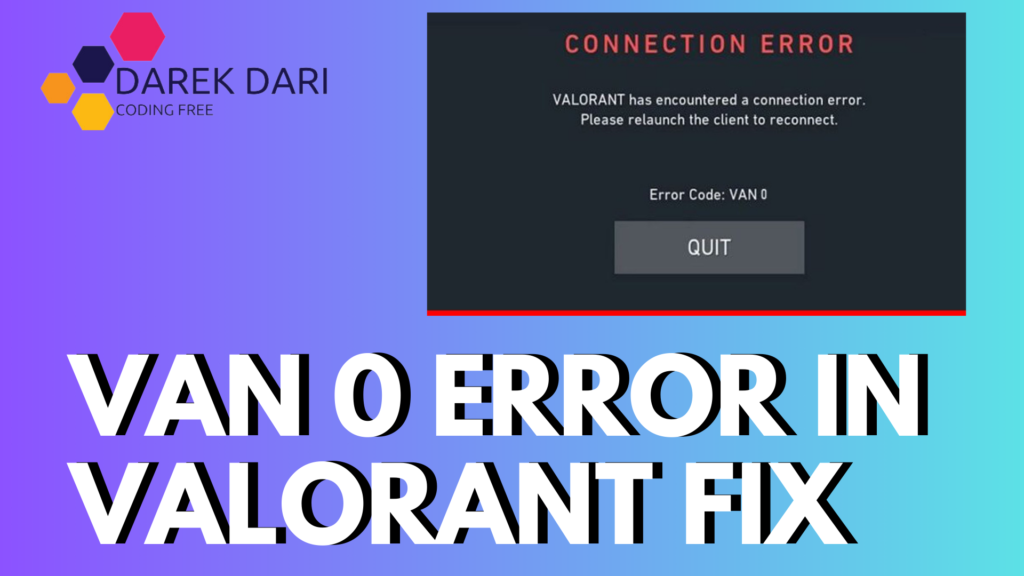
Today, we will look at the solutions to the VAN 0 and VAN -1 errors that occur to Valorant players, causing VanGuard to crash and kick you out of the game in the middle of intense matches.
These VAN 0 and VAN -1 errors may seem to be an issue caused by your internet connection. However, even though there’s no obvious problem with your connection, these errors can suddenly pop up mid-game and throw you right out.
Check this also:
When I reached out to Riot Support, they mentioned that this happens due to packet loss from your Internet Service Provider (ISP), and unfortunately, they couldn’t directly resolve it.
Some players have managed to fix the issue by automating the “vgk” service from the Services section, but this solution has only worked for a small number of users.
Let’s dive into the steps you can try without further delay! 🥳
lol vanguard requires tpm 2.0 vanguard error van 0 selkirk vanguard 2.0 this version of vanguard requires tpm 2.0 vanguard tpm 2.0, tpm 2.0 vanguard, pokemon vanguard 3.0 selkirk invikta vanguard 2.0 vanguard 2.0 riot vanguard tpm 2.0 van0 van 0 vanguard 0
erreur de vanguard van 68
erreur de vanguard van 84
erro no vanguard 68
erro no vanguard van 128 lol
erro van 68 lol
error 84 valorant
error 84 vanguard
error code van 68
error de vanguard van 68
error van 68
error van 84 valorant
error van 9003
error vanguard 68
error vanguard 84
Step-by-Step Guide to Fix VAN 0 and VAN -1 Errors
1️⃣ First, open the Start button, type cmd, and run it as administrator. Then, enter the following commands one by one in order:
Code:
sc delete vgc
sc delete vgk
exit
2️⃣ Next, restart your computer.
3️⃣ After restarting, open the C:/ partition where Windows is installed. Navigate to the Program Files folder and delete the Riot Vanguard folder from there. Be sure to also delete it from the Recycle Bin.
4️⃣ Now, right-click on the VALORANT icon on your desktop and select the “Run as administrator” option. If it asks for permission, grant it.
5️⃣ At this point, we don’t need to do much. Just wait for VanGuard to reload itself.
6️⃣ Once VanGuard is reloaded, it will prompt you to restart your computer. Go ahead and do that.
7️⃣ We’re almost there! Right-click on the VALORANT icon once more and select the “Run as administrator” option again.
8️⃣ Happy ending! 🤠
Check this also:
Video to Watch for Fixing Van 0
Conclusion
This was my first guide, and if there are any mistakes or typos, I apologize in advance.🤓
Here are the keywords without commas:

vanguard error van 0
vanguard error van 0 league
vanguard error van 0 league of legends
call of duty vanguard error ce-34878-0
cod vanguard disc read error 2.0
cod vanguard error ce-34878-0
disc read error 2.0 vanguard
disc read error 2.0 vanguard ps5
error code 0 vanguard
error vanguard tpm 2.0
If you’re still getting these error codes after following this guide, feel free to drop a comment below, and I’ll do my best to assist!


4 Comments
Best Secure Boot And TPM 2.0 In Windows 11 For Valorant Fix · October 5, 2024 at 10:06 am
[…] How Do I Fix VAN 0? […]
How To Fix Error Van 81 Valorant? Best Solution 2024 · October 5, 2024 at 10:17 am
[…] How Do I Fix VAN 0? […]
How To Fix Valorant Van 9003 Error Windows 11 - Best Fix · October 5, 2024 at 10:18 am
[…] How Do I Fix VAN 0? […]
Best Solution For VAN 128 - How To Solve Van 128 · October 5, 2024 at 10:20 am
[…] How Do I Fix VAN 0? […]