
If you’re looking to improve your website’s navigation and keep visitors engaged, a sticky header is a smart solution. A sticky (or fixed) header remains visible at the top of the page as users scroll, making essential elements like your logo, menu, or call-to-action always accessible.
In this guide, we’ll walk you through four effective ways to add a sticky header to your WordPress site—whether you’re a beginner using plugins or an advanced user working with custom CSS.
What Is a Sticky Header and Why Use One?
A sticky header stays “stuck” to the top of the screen while users scroll through your content. This makes it easier for visitors to navigate your site, click on important links, or access their shopping cart without scrolling back up.
Benefits of Using a Sticky Header:
- Improves user experience and navigation
- Increases time on site and reduces bounce rate
- Boosts conversion rates by keeping CTAs visible
- Enhances branding with a consistent logo and design
Sticky headers are especially useful for ecommerce, blogs, portfolios, and service-based websites.
Best Practices for Sticky Header Design
To ensure your sticky header enhances your site rather than becoming a distraction, follow these tips:
- 📏 Keep it compact – Don’t let it take up too much vertical space.
- 🎯 Prioritize content – Only include what’s essential: nav links, CTA, logo, etc.
- 🎨 Match your branding – Use your site’s color scheme and typography.
- 📱 Design for mobile – Use a simplified version for smaller screens.
- 🌀 Consider effects – Add subtle hover animations or transitions.
4 Ways to Add a Sticky Header in WordPress
1. Use a Plugin (Best for Beginners)
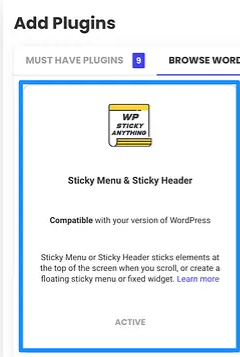
One of the easiest ways to add a sticky header is by using a plugin like Sticky Menu & Sticky Header.
How to set it up:
- Go to Plugins → Add New in your WordPress dashboard.
- Search for “Sticky Menu & Sticky Header” and click Install Now → Activate.
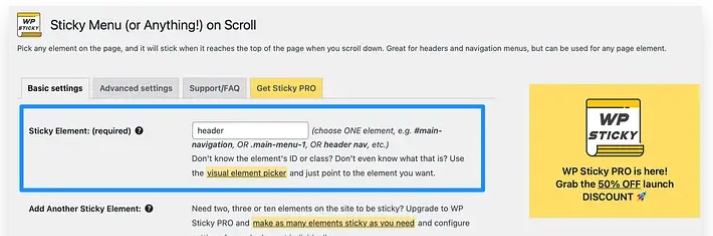
- Navigate to Settings → Sticky Header (or Anything!).
- Enter the CSS class or ID of your header (you can find this using browser tools like Inspect Element).
- Customize spacing, screen visibility, and other settings.
👉 The free version is great for simple needs, while the Pro version unlocks effects like fade-in, color transitions, and device targeting.
Alternatives:
2. Use the Full Site Editor (FSE)
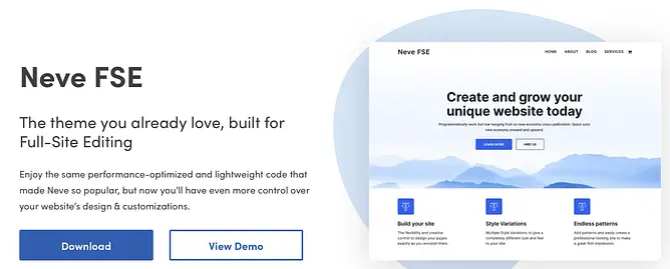
If you’re using a block-based theme such as Neve FSE, you can create a sticky header without any plugins.
Steps:
- Go to Appearance → Editor in your dashboard.
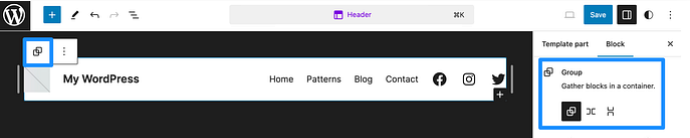
- Click on Templates or Patterns → find and open your site’s Header layout.
- Select the header block and group it using the toolbar.
- In the Block settings, locate the Position option and set it to Sticky.
- Add a background color to keep it readable as users scroll.
FSE offers a visual way to manage sticky headers without code, but you’ll need to be using a block theme.
3. Add Custom CSS (Advanced Users)
If you’re comfortable with code and want full control without extra plugins, CSS is a great choice.
Example:
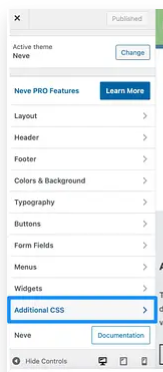
Go to Appearance → Customize → Additional CSS and paste the following:
#site-header {
  position: fixed;
  top: 0;
  left: 0;
  right: 0;
  z-index: 9999;
  background: #ffffff;
  width: 100%;
  height: 60px;
  box-shadow: 0 2px 4px rgba(0, 0, 0, 0.1);
}

body {
  padding-top: 60px;
}
✅ Customize the height, background color, and selector ID (#site-header) to match your theme. Use browser tools to locate the right header element.
4. Use a Premium Theme with Built-In Sticky Headers
Premium WordPress themes often come with sticky header options built-in—no extra plugins or code required.
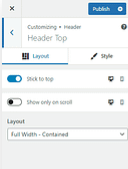
Top pick: Neve Pro
With Neve Pro:
- Go to Appearance → Customize → Header.
- Choose a header row and enable the “Stick to Top” option.
- Decide whether it sticks on desktop, mobile, or both.
- Customize transparency, shrink on scroll, and visibility conditions.
This is ideal for users who want advanced header controls with minimal effort.
Final Thoughts
A sticky header keeps your navigation and branding front and center, giving users a smoother, more intuitive experience on your WordPress site.
Here’s a quick recap of your options:
| Method | Skill Level | Best For |
|---|---|---|
| Plugin | Beginner | Quick setup, no coding |
| FSE | Beginner–Intermediate | Visual builders using block themes |
| CSS | Advanced | Full control and performance |
| Premium Theme | Beginner–Intermediate | Built-in design and customization |
No matter your technical skill level, there’s a method here that can work for you.
💬 Got questions about sticky headers in WordPress?
Drop a comment below, or check out the official WordPress support forums for more help!
Learn more


0 Comments