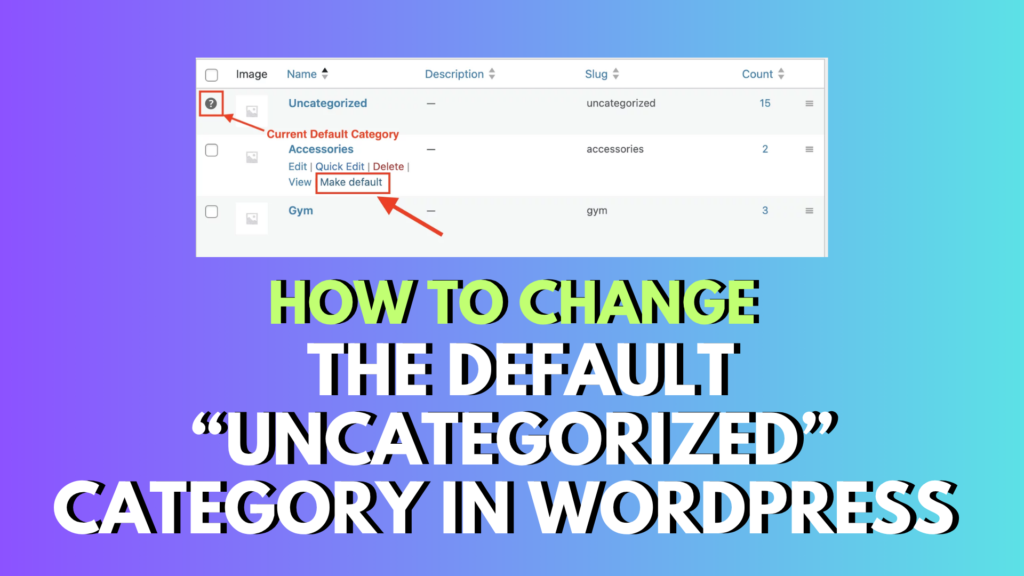
If you’ve ever hit “Publish” on a new WordPress blog post, only to see it filed under “Uncategorized”, you’re not alone. It’s one of the most common beginner hiccups in WordPress—and yes, it’s a little annoying.
The good news? You can easily change your default post category in WordPress so your content is automatically filed the right way, every time.
In this guide, I’ll walk you through how to change the default “Uncategorized” category in just a few clicks. It takes less than 2 minutes, and once it’s done, you’ll never have to worry about that awkward label again.
🧭 Why Your Posts Are Showing as “Uncategorized” (And Why It Matters)
WordPress automatically assigns every post a default category. If you don’t manually choose one, it uses “Uncategorized.” While this isn’t harmful, it looks unpolished—especially if readers or search engines are browsing your site.
If your blog focuses on a specific topic (like travel, recipes, or tech), setting a relevant default category saves time and keeps your site looking clean and organized.
🛠️ How to Change Your Default Category in WordPress
Let’s say you’ve just launched a travel blog and you’re planning to post frequently about Southeast Asia. Instead of manually selecting that category each time, let’s make it the default.
Here’s how to do it:
Step 1: Create Your New Category
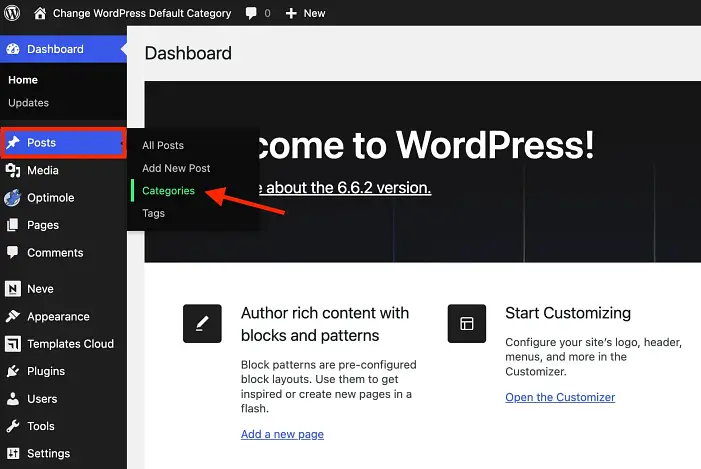
- Go to your WordPress dashboard
- Navigate to Posts → Categories
- Under Add New Category, type the name (e.g., “Southeast Asia”)
- Add a slug (this is the URL-friendly version, like
southeast-asia) - Click Add New Category
✅ Done! Your new category is now available.
Step 2: Set It as the Default Category
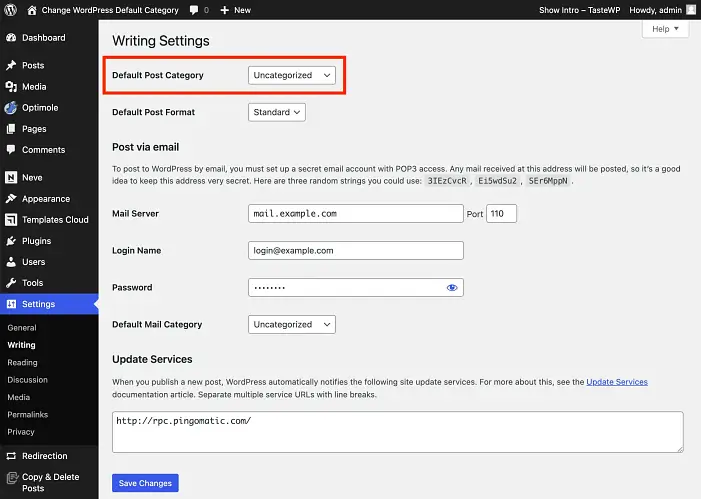
- From the left-hand menu, go to Settings → Writing
- Look for the section titled Default Post Category
- Click the dropdown and choose your new category (e.g., “Southeast Asia”)
- Click Save Changes at the bottom
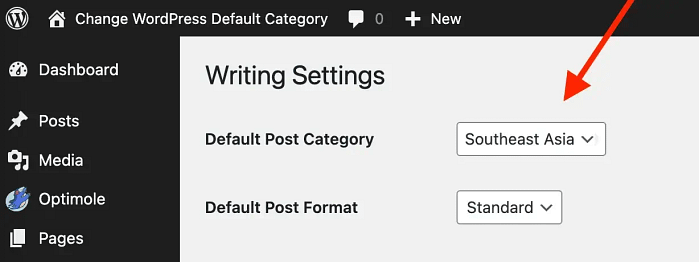
🎉 That’s it! WordPress will now automatically assign new posts to your chosen default category.
💡 Bonus Tip: Choose a Broad Default If You Cover Multiple Topics
If your blog covers several related themes (like “Health & Wellness” or “Small Business Tips”), choose a default category that’s general enough to fit most posts. You can always add specific categories later.
🧠 Why This Matters for SEO and Site Structure
Using the right categories helps both users and search engines understand your content. When your posts are properly organized:
- Visitors can browse related topics more easily
- Your site structure becomes cleaner and more professional
- Google can better understand and rank your content
And let’s be honest—no one wants their blog filled with “Uncategorized” posts.
🎥 Prefer Video? Here’s a Quick Tutorial
If you’re more of a visual learner, here’s a short video tutorial where David walks you through the same steps:
📌 Wrapping Up: No More “Uncategorized” Posts!
Now you know how to change the default category in WordPress—and it only takes a couple of clicks. This tiny tweak can make a big difference in how organized and professional your blog appears.
If you’ve got any questions or run into a snag, feel free to leave a comment below. I’m happy to help!
✅ TL;DR – How to Change WordPress Default Category
- Go to Posts → Categories and create your new category
- Go to Settings → Writing and change the Default Post Category
- Click Save Changes—done!
Learn more


0 Comments